About Me

My photo
Newcastle upon Tyne, Northumberland, United Kingdom
This is a blog I use to share my papercraft projects. I make them for friends and family, as well as selling them to fund my craft stash. You can get in touch with me at loumac03@gmail.com if you have any questions or would like to place a commissioned order.

Wednesday, 30 July 2014

YAY! It's your BIRTHDAY!

Morning guys! July is almost through, can you believe it?! 

It's a nip and a punch for the first of the month, what is it for the last day?! LOL!

I'm popping in to share some My Mum's Craft Shop inspiration with you all today. This weeks theme is KIDS BIRTHDAYS

Little kids birthday cards are always fun to create. There are a bunch of little kids images out there, it was hard to choose!!

In the end I went up with The Hobby House Toppers - When I Grow Up.


I LOVE her chubby little legs and the shoes she's pinched from her mam! 


I stamped a couple sentiments from Amy R - Great Birthday Greetings and die cut them with some circle dies. I added them to my card and built up my embellishments around them.

I added a couple buttons, liquid pearls, stickles and some Rhinestone Hearts to finish up this card. I'm all about the froofroo for finishing touches.

Thank you for stopping by today. Be sure to pop by the blog for daily inspiration from the awesome DT girls! xo


Sunday, 27 July 2014

Gamer Cuz

I'm back again with another gamer card! You guys always compliment me when I create boy and male cards, so here's another one for you to hopefully draw some inspiration from.


I created this card for my little (or not so little anymore) cousin who has his 12th birthday earlier this month. As soon as I seen this image released over at Saturated Canary I just knew I had to have it! He's gonna come in so useful, I just know it. 


I've been creating a couple gate fold cards recently, and it's gotten me outta a 6x6 square rut, so this time I decided to try a.. whatever this kinda card is called? The front panel has been folded in half back on itself and the image panel now completes the other half of the front of the card. I've made that sound so super technical, but really, it's super simple.

I used papers from My Mind's Eye, a bunch of Lawn Fawn stamps and some Cameo cuts.

Buttons, brads, pearls and stickles finish this card off. xo

Friday, 25 July 2014

Gamer Guy

Happy Friday, guys! 

I'm popping in to share one of my latest commissions for a young lad who turned 16 earlier in the month. He is mad into his xBox, so this image from Kenny K was perfect.


I coloured him up to match my papers from My Minds Eye. I roughed the edges of the papers and layered them onto some black and then yellow cardstock.

I added some large ric rac which I attached with mini staples which I also used to keep my curled paper in place. I added some die cut yellow stars which I added some black sparkle embossing paste to through a star stencil.

I cut a large 16 on my cameo, hand stamped and embossed the sentiment and die cut with a speech bubble die and added all of the elements to the card. As finishing touches I added my usual buttons, brads and liquid pearls.

Job done. :) 

Wednesday, 23 July 2014

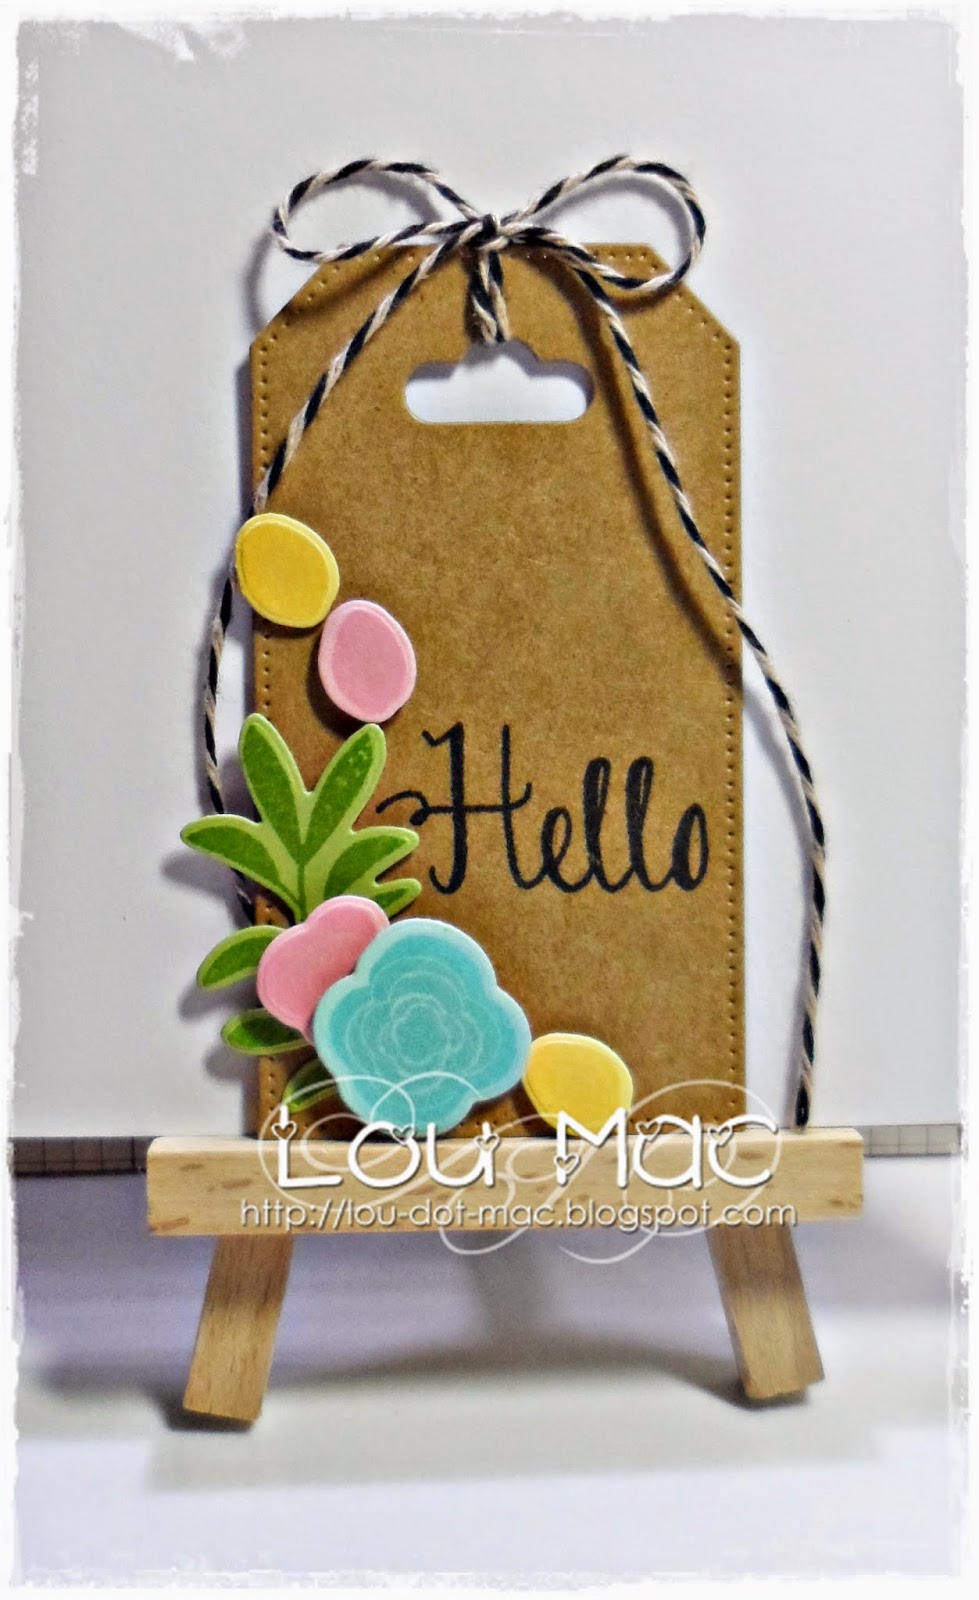
Hello Tag

Yikes! This photo has really made me think about my photography skills - they're crap! Hah. I keep blagging my way through the photos for my blog - I think things have gotta change.. including the backdrop I use to photograph my cards. I've been tryna find one of those little vintage flower frogs too, but no such luck (unless I'm willing to spend £10+, which I'm not), to help set the scene with my cards too, but not to worry. It's not life or death. 

Waffle aside, it's time for a new free theme this week over at My Mum's Craft Shop. Every fortnight Kitty lets us use whatever products we want from My Mum's Craft Shop to showcase whatever project we want. 

This week I chose to create a cute little tag, which could be used to adorn a little gift, or it could be added to a card base for a quick and easy card! :) 


First off I started with some yummy Kraft cardstock from Docrafts.
I used Die-namics Pierced Traditional Tag STAX from My Favorite Things to create my card base. I then used a Paper Smooches Topper Die to create the little cut out to thread the twine through.

As for decorating the tag, I used one set from Avery Elle - Laurels and the matching dies. SUPER easy!! I stamped the flowers with some NEW Hybrid Ink from My Favorite Things in Cotton Candy and Blue Raspberry.

A SUPER easy project, using some cute new stamps and matching dies to make it even easier. I hope you like it. Be sure to stop by the BLOG each day to catch up with the awesome DT girls work. xo

Tuesday, 22 July 2014

Summer Lovin'

Morning guys! :) I can't quite believe how fast this month is zooming by - it's almost AUGUST! Yikes!!

It's time for another challenge from us over at Passion for ProMarkers - and Team 1 are showcasing another bunch of SUMMER makes! Be sure to stop by the BLOG when you're done here to check out the girls work and to have a gander at the prize up for grabs!!

This week we wanna see..

SUMMER LOVIN'

Here's a card I whipped up using the beautiful Cali Girl from Saturated Canary which I have to admit to buying a long time ago.. and I have only just got around to colouring her up for this card. I'm such a digi hoarder! I keep telling myself *it's okay, they never go off* - really gotta sort myself out.

So, some of you may remember THIS card I posted last week with a gate fold, you probably seen it coming.. but I just had to try it again. It makes my brain think a little bit harder with re. to where I can place my sentiments and embellishments.


I coloured Cali Girl with my ProMarkers to match my summer papers from Carta Bella which I hardly used last year.. so I'm tryna use them up this year! I used some Amy R stamps to create my sentiment and layered it up on top of a mini card from the paper pack and a die cut pinking circle.

I die cut a bunch of vellum clouds and added them to the image panel. I then cracked open the little envelope of gifted orange buttons I recieved from my wonderful crafty friend Debbi and added a couple of those around about the design. 

I hate any of my workings showing on the inside of my card, so I'm always super careful about where I position brads and buttons (I always stitch my buttons to my cards) before adhering anything down, that way the recipient will never know how things are stuck down and it will look way neater.

As always I finished the the whole design off with a bunch of liquid pearls, sequins and stickles. 

Thank you for popping by today guys. Be sure to check out the work from the awesome Passion for ProMarkers DT girls over at the blog! Get some inspiration for the Summer Lovin' theme, and join in! xo

Sunday, 20 July 2014

Letterbox Red

Morning guys! :) I'm quickly popping in to share a wedding card with you all that I created last month. 


The colours were black, ivory and letter box red, gorgeous combo. I used my roses from My Favorite Things and jazzed the card up with gold glitter trim, lace trim, sequins, stickles and pearls. I hand stamped the sentiment and date in red ink using a Lawn Fawn alpha set.

Happy Sunday. xo

Saturday, 19 July 2014

Little Baby Boy

Morning guys! :) Up and at it today. It's time to get our butts to the boat this afternoon and work, work, work. After a very expensive day yesterday (my car failed it's MOT for the 4th year in a row - the jaloppy is a total money pit) I am ready to take my anger out with the sander.


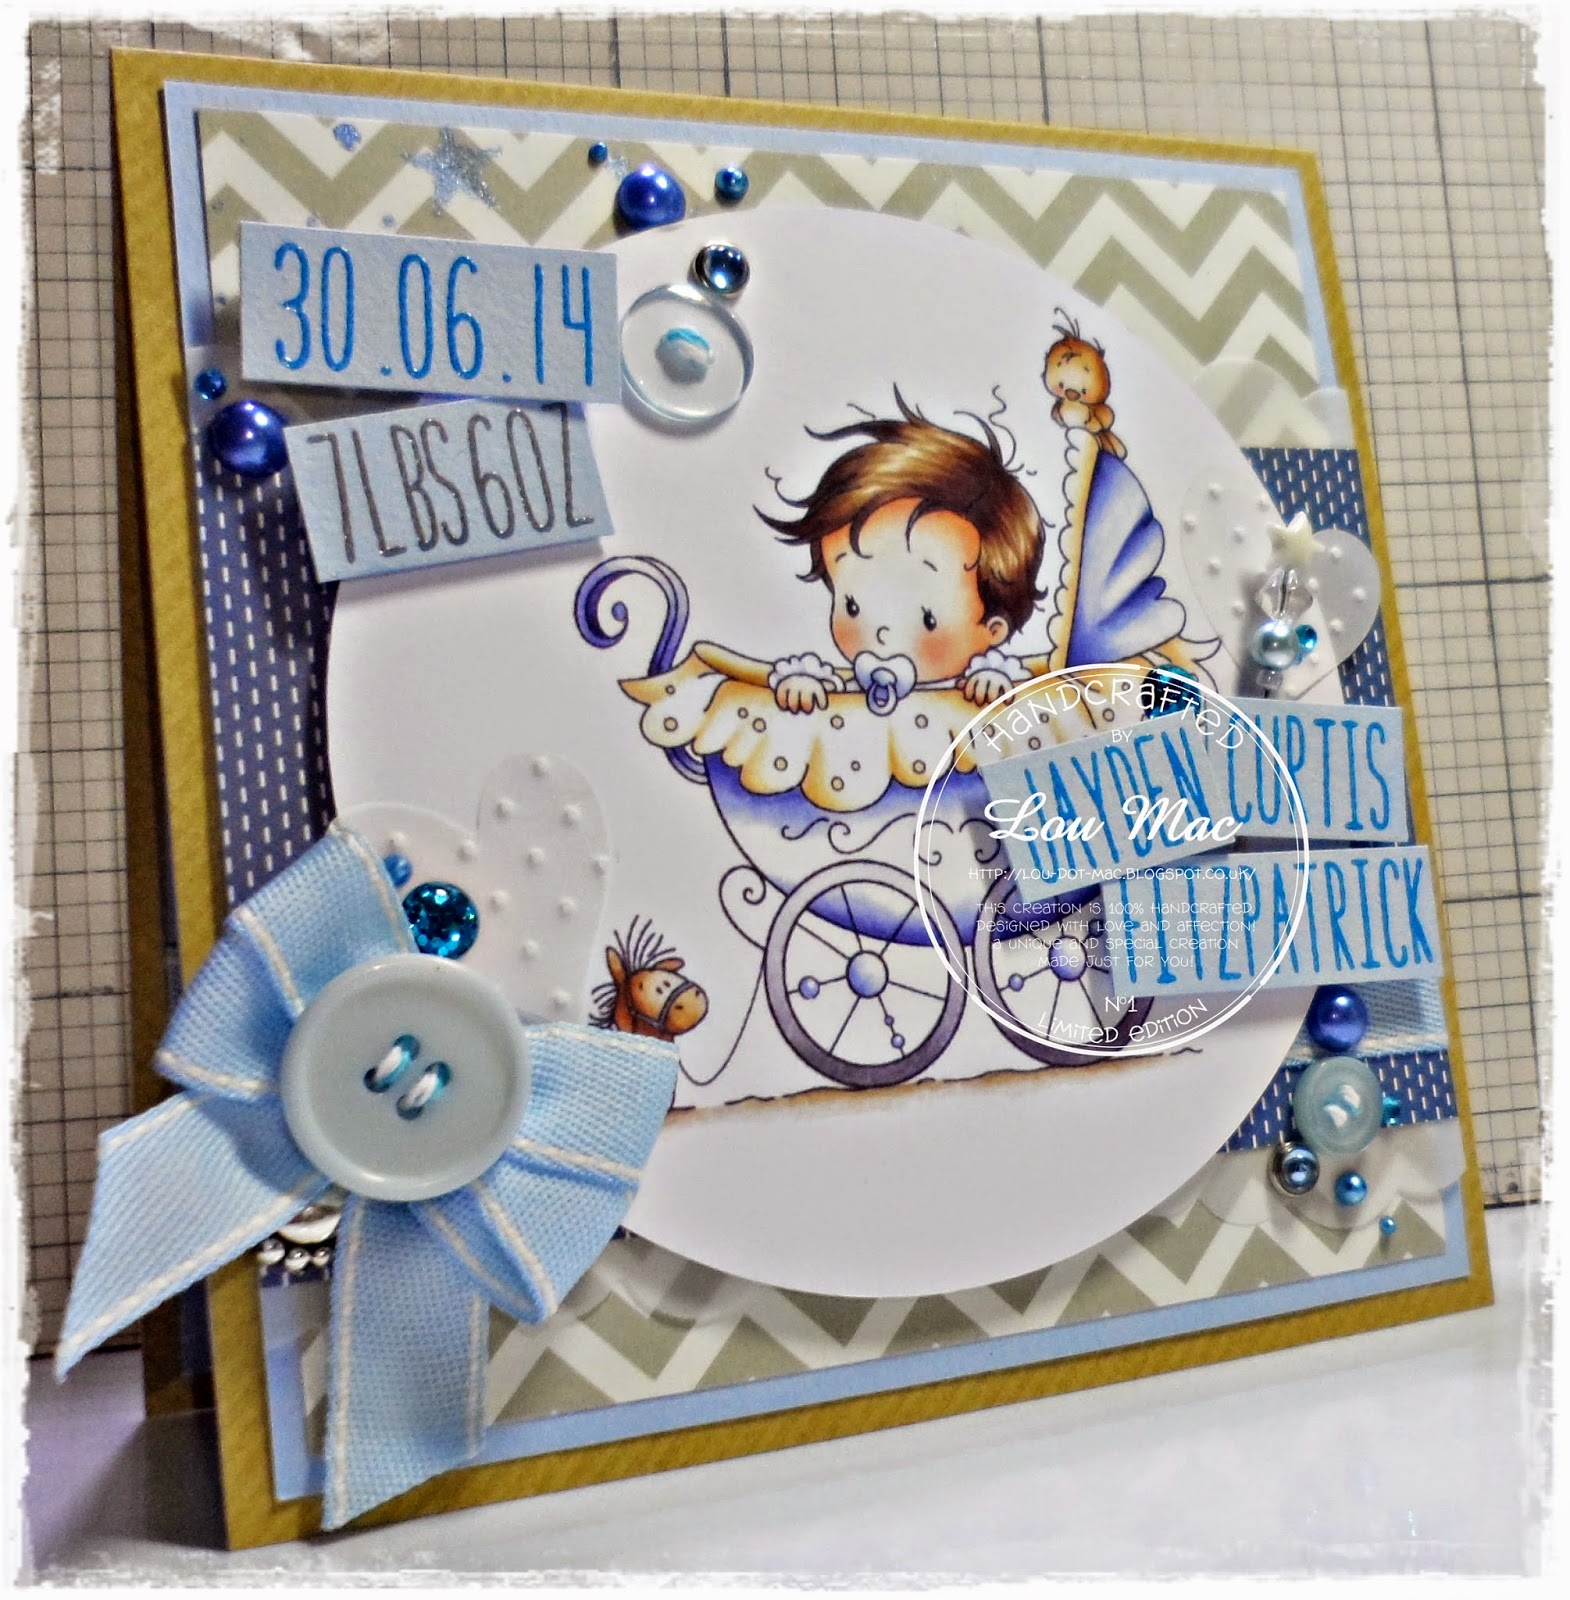
I'm quickly checking in with you all to share a recent baby card with you all. This was for a friend to give to a new mam. I used a cute topper from The Hobby House, paired up with some papers from Carta Bella and My Minds Eye. 

I added a bunch of froofroo and that was that! :) Thank you for stopping by. Enjoy your Saturday, whatever you get up to. xo

Thursday, 17 July 2014

Vintage Truck Style-e

Yoohooo!

Two more days until the WEEEEKEEEEND!! What do you have planned? After feeling super guilty about not going to the boat last weekend.. you can probably guess what me and the boy will be doing! Joy! LOL!!

So today I'm popping by to share the card I created for Mother Goose to give to her boyfriend for his.. birthday.. earlier in the month. 


I used an image from Tiddly Inks that was PERFECT for this card. I changed the outline to green to match my papers from My Minds Eye. I tried a different fold for this card, and kinda like how it turned out! :) Just something a little different.

I eased off on the embellishments a little, and only added two buttons..heehee. 

I added a whole load of kraft cardstock, guys gotta love that, right?! That's all I got for ya today. Thank you for stopping by. xo

Wednesday, 16 July 2014

Hello Summer

Morning guys! :) 

I'm here this morning to share a new card with you all using some gorgeous My Mum's Craft Shop goodies. I will link to each item available from the store.


Be sure to stop by the STORE and check out the NEW ARRIVALS and hit the BLOG for daily inspiration. Thank you for stopping by today. xo

Monday, 14 July 2014

Lollipop's Notes

Afternoon guys! :) I'm back with a super quick post to share another recent notebook commission with you all. I used the gorgeous Wryn from Tiddly Inks and coloured her to match my papers from a My Minds Eye paper pack. 


I added Lollipop's Notes to a Paper Smooches banner, then added some yummy ribbon, lace trim, and a whole bunch of the usual froofroo. How'd you like it?!
I LOVE the combo of orange, lime and aqua. So pretty. :)

Enjoy the rest of your Monday - I'm off to play with my new phone. xo

Saturday, 12 July 2014

Embossed Notebook

Morning guys! Happy Saturday! 

I had a day off work yesterday, and it was total bliss. I had a day of colouring and organising the rest of my images for DT work. I like to get ahead when I can!

I had an order from a lovely lady recently, for a notebook for her son. She wanted to make it into a keepsake journal of sorts. She loved this image from Wee Stamps so I coloured him up to look like her little boy. 


I used some gorgeous papers from Echo Park and added a large embossed panel to the bottom of the design. The lady also requested a white feather - so there it is. 

I added my standard sprinkling of buttons, sequins and liquid pearls. Job done.

I've got some pain au chocolats in the oven as I type, and then I'm off out to enjoy a day in the sunshine with the boy! :) Enjoy your Saturday whatever you get up to! xo

Wednesday, 9 July 2014

Berry Fairy

Morning guys! :) 

I'm back to share a project using supplies from My Mum's Craft Shop with you today! 

Some of the more keen eyed of the bunch may notice that I'm trying to trick my brain into thinking that it's Christmas. It's time to start creating for Christmas. COME ON CHRISTMAS CARDS! I just won't accept the fact that I gotta get my butt into gear and start with the Christmas froo froo just yet.. but it won't be long.

So instead of diving in head first this year, I thought I'd create an every day card with Christmas colours. 

I used a gorgeous Hobby House topper from the Rosetta set of 6. This is a little berry fairy, she's such a cutie. I matched her up with some papers from Echo Park.


I then added a sentiment from My Favorite Things Pure Innocence - I Pick You to a piece of kraft cardstock I die cut with Die-Namics Sentiment Strips 2 before adding two little red brads at either end. 

I rediscovered some lovely polka dot grosgrain ribbon in coffee which I added near the bottom of the card with a double bow. I added a little button to the knot, and stitched more of the basic round buttons to the card. I kept the colour theme consistent by adding some red sequins and liquid pearls and left it at that. Yum! :) I was definitely a little bit more ready for Christmas by the time I had finished this card! :) 

Thank you for stopping by today. xo

Tuesday, 8 July 2014

Beside the Seaside

Good moooorning guys! :) 

BRAND NEW CHALLENGE 


OH I DO LIKE TO BE BESIDE THE SEASIDE


I just *HAD* to use this adorable chap from CURLY from Pollycraft.

I printed him out pretty large with no lines and went to work with my ProMarkers. I coloured him in blue and orange to match my papers from Carta Bella. These are summery themed papers from last year, but I still have a bunch left over to use up.

I didn't really have a sentiment to match this guy, so I cut down a little element from one of the sheets of paper and bam - sentiment done. I went a little crazy with brads, sequins, buttons and such (you all know me by now) after I had stuck my little vellum clouds down. 

Be sure to head over to the Passion for ProMarkers blog and join in with our challenge this week! :) Thank you for stopping by today. xo

Monday, 7 July 2014

Valentine's Tia

Today I'm back with ya to share a Some Odd Girl project (bet'cha thought it was gonna be another Tiddly Inks creation, didn't ya) that was part of an order for a lovely newbie over at my page. 


I wanted to use up some more of an older My Mind's Eye paper pack, and the colours the lady was after made this the perfect match. It let me practice my pastel colouring a little more too. Light pink, lilac with a touch of grey. Perfect.

I wanted to make sure that the sentiment stood out, so I stamped it in a dark grey onto a cream coloured patterned paper from the MME pack. I then cut each line with my trimmer and adhered them to the card using silicone glue at slightly jaunty angles. 

I added a large 2 that I cut on my cameo, a chunky twill stripe bow, some Petal Lu goodness, a bunch of Wild Orchid Craft rhinestone brads, Doodlebug brads and sequins, and some buttons from my stash.

I LOVE that little flower paper from MME. It was the last sheet I had.. and would ya looka' that!! I used it up. ;) I hope you likey. xo

Sunday, 6 July 2014

Ellie Says Hi

*******************************


Before I get to the main project in this post I just wanted to share this SUGAR & SPICE goodness with ya. **Coming Soon!!** Be sure to keep your eyes peeled over at That Craft Place!!

*******************************

So, today I have another Tiddly Inks creation to share with you. This time it's using Ellie Says Hi clear stamp. I stamped her in Memento Angel Pink ink to colour her with 'no lines'. 

Earlier last week I had commented on a gorgeous card Amanda had created which you can check out HERE. It was using a combo of red and purple - not something you see very often, but I thought it worked so well.. and I let her know. :) So.. she then challenged me to use red and purple on my next creation. Let me tell ya.. I am not one to say no to a challenge. So I set to working finding a purple ProMarker combo that worked for me and started colouring up Ellie. 


I got a confession to make.. I totally messed up her shoes. She was originally meant to cover the entire front of this little notebook.. that didn't happen. I laid down FAR too much colour and the darkest purple started bleeding out ALL OVER.. something which has never happened to me before. I guess I gotta get some more practice in with these FlexMarkers.

I chopped off those messed up feet, layered her onto a thick red mat, added some purple buttons and other froo froo, like Doodlebug brads, sequins and liquid pearls and added her to the card using dimensionals. 

As for the cover for the notebook, I cut down some textured American Crafts purple cardstock and stencilled some Memento Elderberry ink through a cross patterned stencil to add a little more interest.

Job done. Cute little notebook, right at ya! xo

Saturday, 5 July 2014

Wedding Wishes

Can't believe it's taken me so long to get around to blogging this card. It just kept getting lost (weird) in the masses of photos (which I've already accumulated on this new laptop.. another thing I said I didn't want happening *mental note* - must buy external hard drive)


I coloured them couple in black, white, blue and yellow to match my papers from My Mind's Eye.


This was a commission for a lovely lady who wanted a special card to give to her friends for their wedding. I wanted to add a lot of froo froo with it being a wedding card. So I started with the die cuts. I added a bird cage from La La Land Crafts, and an XCut heart. I then added the sentiment from Lawn Fawn and the date of the wedding.

As for the rest of the embellishments, I added a gorgeous spray of flowers from Wild Orchid Crafts, some petrol blue organza ribbon and a bunch of pearls, rhinestones, Stickles and Doodlebug brads. 

Such a pretty image, I can tell I am going to enjoy colouring these cuties up every time. 

Enjoy your Saturday, whatever you're up to. :) xx

Friday, 4 July 2014

Thank You Teacher

It was kinda like fate.

I spotted a make a lovely girl over at Digi Galore on FB had created with THIS image from Saturated Canary, Beauty and the Beaker.. but I couldn't justify spending money on an image I probably wouldn't use.. even if I did love it..

..then I got a message from my niece a couple of days later, asking I could make a thank you card for her biology teacher! Hah. MAJIK! ;) Of course I said yes, and quickly rushed off to purchase the image from Saturated Canary.


Ahhh! I coloured her up with lime green, blue and orange.. bits and pieces around her.. to match my rediscovered papers from My Mind's Eye and then went to work decorating my card.

My niece wanted 'Thank You' and her teachers name included on the front of the card, so they were the first things I created by stamping and embossing some letters from a Lawn Fawn alpha set. 

I then rummaged through my button stash (I have a serious lack of orange buttons) and added some lime green and orange buttons to the design. I went crazy with some flocked brads from Doodlebug, some sequins from Doodlebug and a bunch of gold liquid pearls here and there! :) 

That's all from me today. I'm doing pretty well with this post a day for the month of July, aren't I? ;) Although, it's till only the 4th. We'll see how this goes! ;)

** Oh.. HAPPY 4TH JULY to my American friends!! **

Thursday, 3 July 2014

Football Mad!

Hey, hey!!

Who doesn't love a male card?! I always get questions like.. "How do you do it?" and "How do you make them look so full?"

The key.. is just going with it. Forget that you're making a card for a male.. expect when you start eyeing up your paper flowers.. then you gotta take a step back and try and remember what you're tryna achieve.


Football is always a winner, no? Blues, blacks and kraft was the colour combo for this card.

I used a new brick stencil and some white embossing paste coloured with Desert Sand Memento ink to create a wall pattern on the base, and I layered my design up from there. :) xo

Wednesday, 2 July 2014

SMILE

Yoohoo! I'm back again today with some more My Mum's Craft Shop inspiration goodness!

Yesterday you seen me go all out with my card for the BRIGHT COLOURS callenge. Coloured image, patterned papers, loads of froofroo. Throughout this week however, all of the DT girls will be showing off their CAS cards using MMCS products


I just had to break out my new set from My Favorite Things - SMILE for this card.
I paired my sentiment with some leaves and dots from Paper Smooches - Reflections stamp set.

I stamped SMILE in Blue Raspberry Hybrid Ink from MFT.
I stamped the rest of the sentiment in Onyx Black Versafine
The leaves have been stamped in Grout Gray Hybrid Ink,
.. and the dots in Spearmint Hybrid Ink.

To finish off this super CAS I scored all edges of the card stock about 1/4" from the edge for a little more added interest. :) I hope this inspires you to leave the patterned paper behind and just have a good play with your stamps and see what you can come up with! 

Be sure to stop by the blog each day this week to gather more inspiration from the awesome DT girlies. xo

Tuesday, 1 July 2014

A Little Something..

Morning guys! Seven months into 2014.. how do you feel about that? LOL! I know how I feel.. exhaused - it's zoomed by super fast! When I look back and think about everything that has happened so far this year, it's scary - it feels like everything has blurred into one! 

It won't be long until I force myself to start on some Christmas designs. To be honest, I don't know why I keep putting it off. I think it's mainly because I don't want to admit that it's actually going to be happening.. sooner than we think.

ONWARDS! Today marks the first of the month, which means we have a brand new challenge for ya over at My Mum's Craft Shop. This month we wanna see..

BRIGHT COLOURS


My Favorite Things - Wonky Scallop Border

All of the supplies listed above can be found over at My Mum's Craft Shop.


This is the first Stamping Bella stamp I have bought and coloured up.. why did I wait for so long?! I love this girl! ..and it's unusual to find stamps that are from the back - saves colouring up a face for a change, right? 

I stamped and embossed the sentiment that comes with the Stamping Bella image and added it to a die cut tag from MTF. I added a tonne of froo froo, including buttons from the £1 embellishment packs, Doodlebug sequins and a bunch of liquid pearls.

I tried something a little different with my bow. I used some waaay old ribbon that I've had since I started crafting (the colour matched perfectly, and it certainly is bright) and layered some bows up. I first created a bow with four loops and then a smaller bow with two loops, squidged them together and adhered them to the card with a ribbon across the knot. :) I kinda like how it looks, but I think I need some more practice on layering them.

That's all I got for ya today. Be sure to stop by the My Mum's Craft Shop blog to see what my awesome teamies have whipped up for the BRIGHT COLOURS challenge this month. xo

Search My Blog

My Fellow Craft-o-Holic Followers

Total Pageviews